Buttery Buffalo Chicken Wings
Buttery Buffalo Chicken Wings
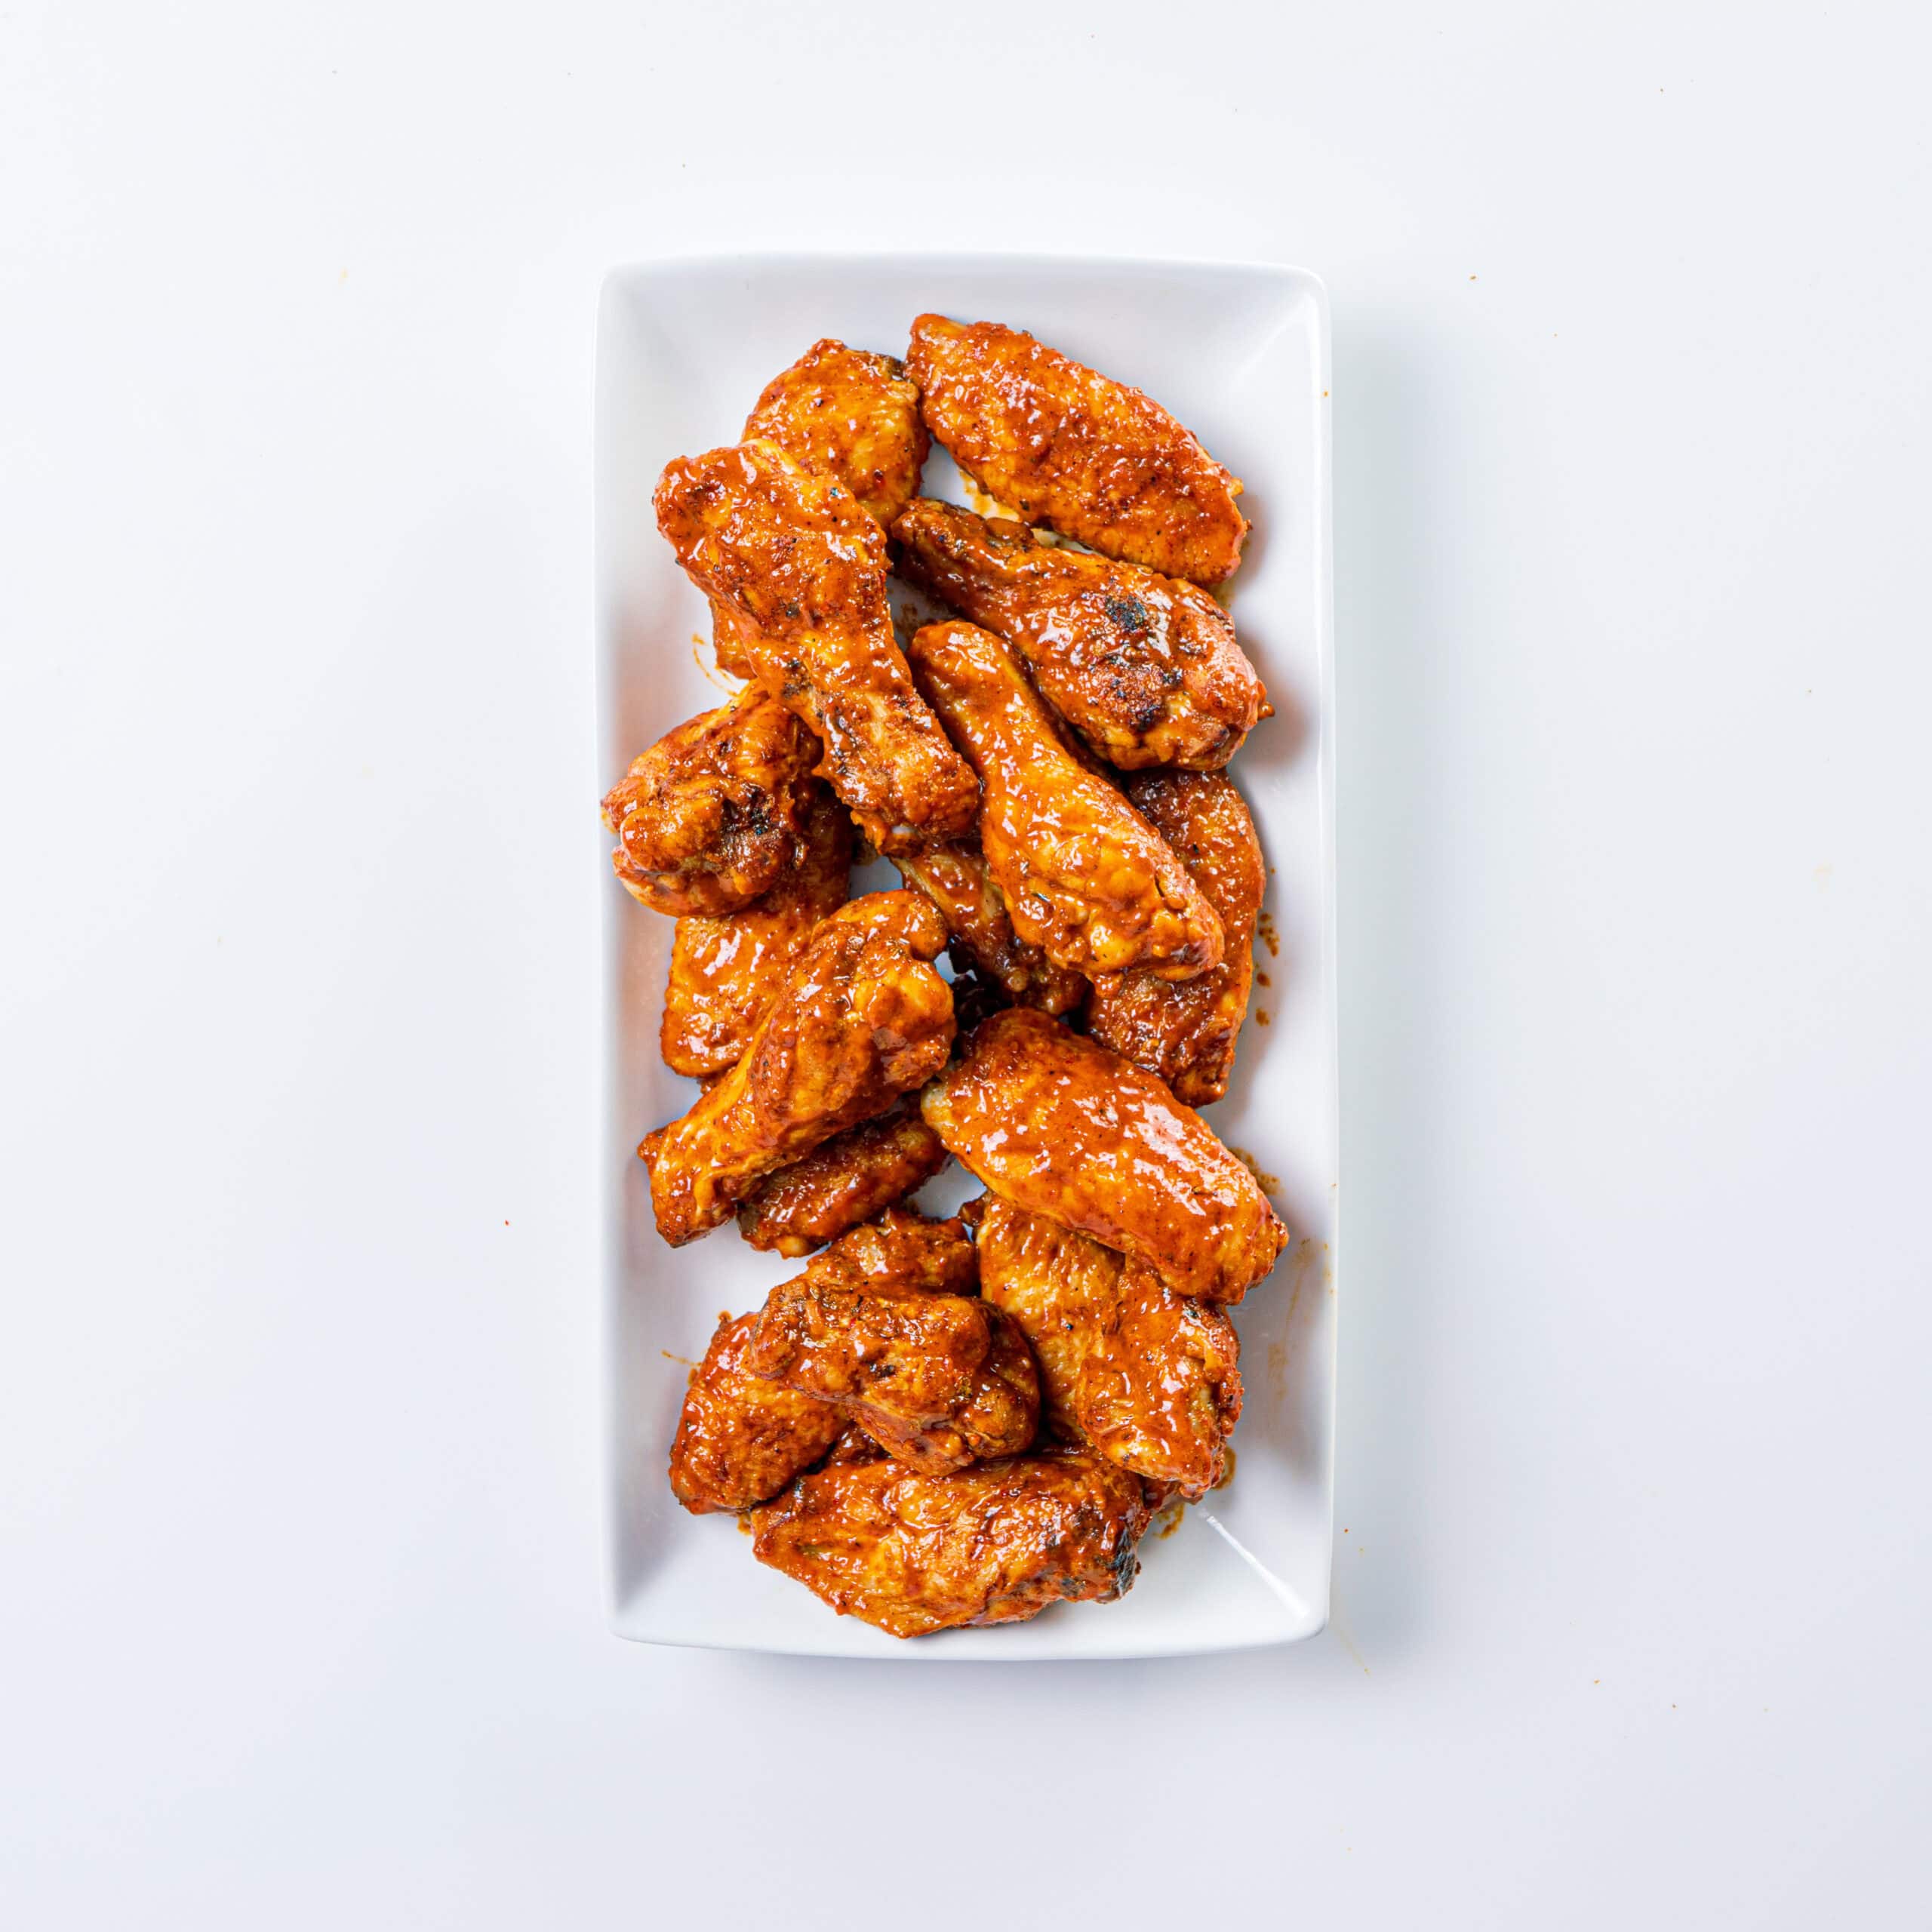
Stop reaching for the sauce. These Buttery Buffalo Chicken Wings build the flavor into the skin before the oven even opens.
The classic of the whole chicken wings recipes set: when someone says “wings,” this is usually the one they mean.
Kinder’s Buttery Buffalo Seasoning goes on as a dry rub, delivering tangy, buttery, spicy Buffalo flavor directly into the crust during baking. No wet toss, no coating mess. The seasoning locks onto the skin at 425°F and bakes into something crispy and genuinely flavorful. Serve Kinder’s Buttery Buffalo Wing Sauce warm on the side for dipping. Two products, one result that doesn’t need a fryer behind it.
The technique is simple, but the details matter. Pat the wings completely dry before seasoning, moisture under the skin creates steam during baking, and steam is the enemy of crunch. Set them on a wire rack over a foil-lined sheet pan, skin-side up, in a single layer with space between each piece. That airflow is what separates oven wings from steamed wings.
Bake in two stages: 25–30 minutes for the first pass, then flip and 20–25 more until the skin blisters and the internal temp hits 165–175°F. Rest 2–3 minutes on the rack before serving.
If you have time, air-dry the wings uncovered on a rack in the fridge for 30–60 minutes before baking. The skin dries out further, and the difference in crunch is noticeable. Not required, but worth doing when you have the window.
This recipe yields 4 servings from 3–4 lbs of party wings. Total time is approximately 55 minutes. It holds for weeknight dinners and scales up easily for game day without adding complexity.
Flavor First.
Buttery Buffalo Chicken Wings
Ingredients
Equipment
Method
- Preheat oven to 425°F. Line a large baking sheet with foil and set a wire rack on top.
- Pat wings completely dry with paper towels — all over, including the underside. Moisture is the enemy of crispy skin.
- In a large bowl, toss wings with Kinder’s Buttery Buffalo Seasoning until every surface is evenly coated.
- Arrange wings in a single layer on the wire rack, skin-side up. Don’t crowd them.
- Bake for 25–30 minutes until the skin starts to crisp and turn golden. Flip wings halfway through for even cooking.
- Continue baking another 20–25 minutes until wings are crispy, deep golden, and internal temperature reaches 165–175°F.
- Rest 2–3 minutes on the rack. Top with sliced green onions and blue cheese crumbles if using.
- Warm Kinder’s Buttery Buffalo Wing Sauce in the microwave for 20–30 seconds. Serve alongside wings for dipping, with celery and carrot sticks.
Nutrition
Notes
- Dry them twice — Pat dry with paper towels right before seasoning, and if time allows, air-dry uncovered on a rack in the fridge for 30–60 minutes first. Drier skin crisps faster and holds the texture longer after plating.
- Baking powder boost — Toss the wings with 1 Tbsp aluminum-free baking powder along with the seasoning before baking. It raises the pH of the skin and causes it to blister and brown faster. The crust comes out noticeably more crackled.
- Broil finish — If the skin still isn’t as crispy as you want after the full bake, switch to broil on low for 2–3 minutes. Stay at the oven — it goes from golden to burnt fast.
- Warm the sauce — Cold Buffalo sauce is too thick and too sharp straight out of the bottle. 20–30 seconds in the microwave loosens it and rounds the edge. Serve it warm for dipping, not room temperature.
- Air fryer path — 400°F for 20–25 minutes, flipping halfway. Same seasoning, same logic — the air fryer circulates heat more aggressively for a slightly faster crust.
- Set out celery and carrot sticks with blue cheese dressing alongside the wings. The cool crunch cuts through the heat and rounds out the plate without overthinking it.
- For game day, these anchor a bigger spread well — loaded potato skins, a dip station with blue cheese and ranch, something cold to drink. The dry-seasoned crust holds up better over time than sauced wings, so they don’t fall apart sitting out on the table.
- For a lighter plate, pair with a simple green salad and ranch on the side. The wings carry the meal.
- Cool the wings completely before storing. Refrigerate in an airtight container for up to 3 days.
- Reheat on a wire rack on a sheet pan in a 400°F oven for 8–10 minutes, or in an air fryer at 375°F for 5–7 minutes. Both methods bring the crust back close to fresh. The microwave turns the skin limp — avoid it.
Tried this recipe?
Let us know how it was!Frequently Asked Questions
What’s the difference between dry-seasoned wings and sauced wings?
Dry-seasoned wings (like these) use a spice blend baked into the skin, so you get crispy texture all the way through. Sauced wings get coated in liquid sauce after cooking, the glaze adds moisture and stick, but softens the skin. It comes down to whether you want crunch or glaze.
Why bake wings at 425°F?
High heat renders the fat under the skin fast and drives steam out before it can make the skin go soft. At lower temperatures, the fat pools under the skin and steams it instead of crisping it. 425°F is where oven wings can actually develop a real crust.
Can I use frozen wings?
Yes, thaw completely in the refrigerator overnight first. Frozen wings carry a lot of water, and if they haven’t fully thawed, that moisture releases during cooking and kills the crust. After thawing, pat aggressively dry and proceed normally.
Do I need to flip the wings while baking?
Flip halfway through the first stage at the 25-minute mark. Skipping the flip leaves the underside paler and less crisp. It takes 30 seconds and makes a real difference on both sides.
Can I make these ahead?
Bake fully, cool completely, and refrigerate. Reheat on a rack in a 400°F oven for 8–10 minutes right before serving. The crust comes back close to fresh. Don’t cover or sauce them while storing, trapped steam collapses the skin.
More like this: Game Day Recipes · Appetizer & Dip Recipes · Chicken Recipes
One Good Recipe a Week
No spam, no life stories. A recipe worth cooking, in your inbox.