Smoked Chicken Wings with Woodfired Garlic Seasoning
Smoked Chicken Wings with Woodfired Garlic Seasoning
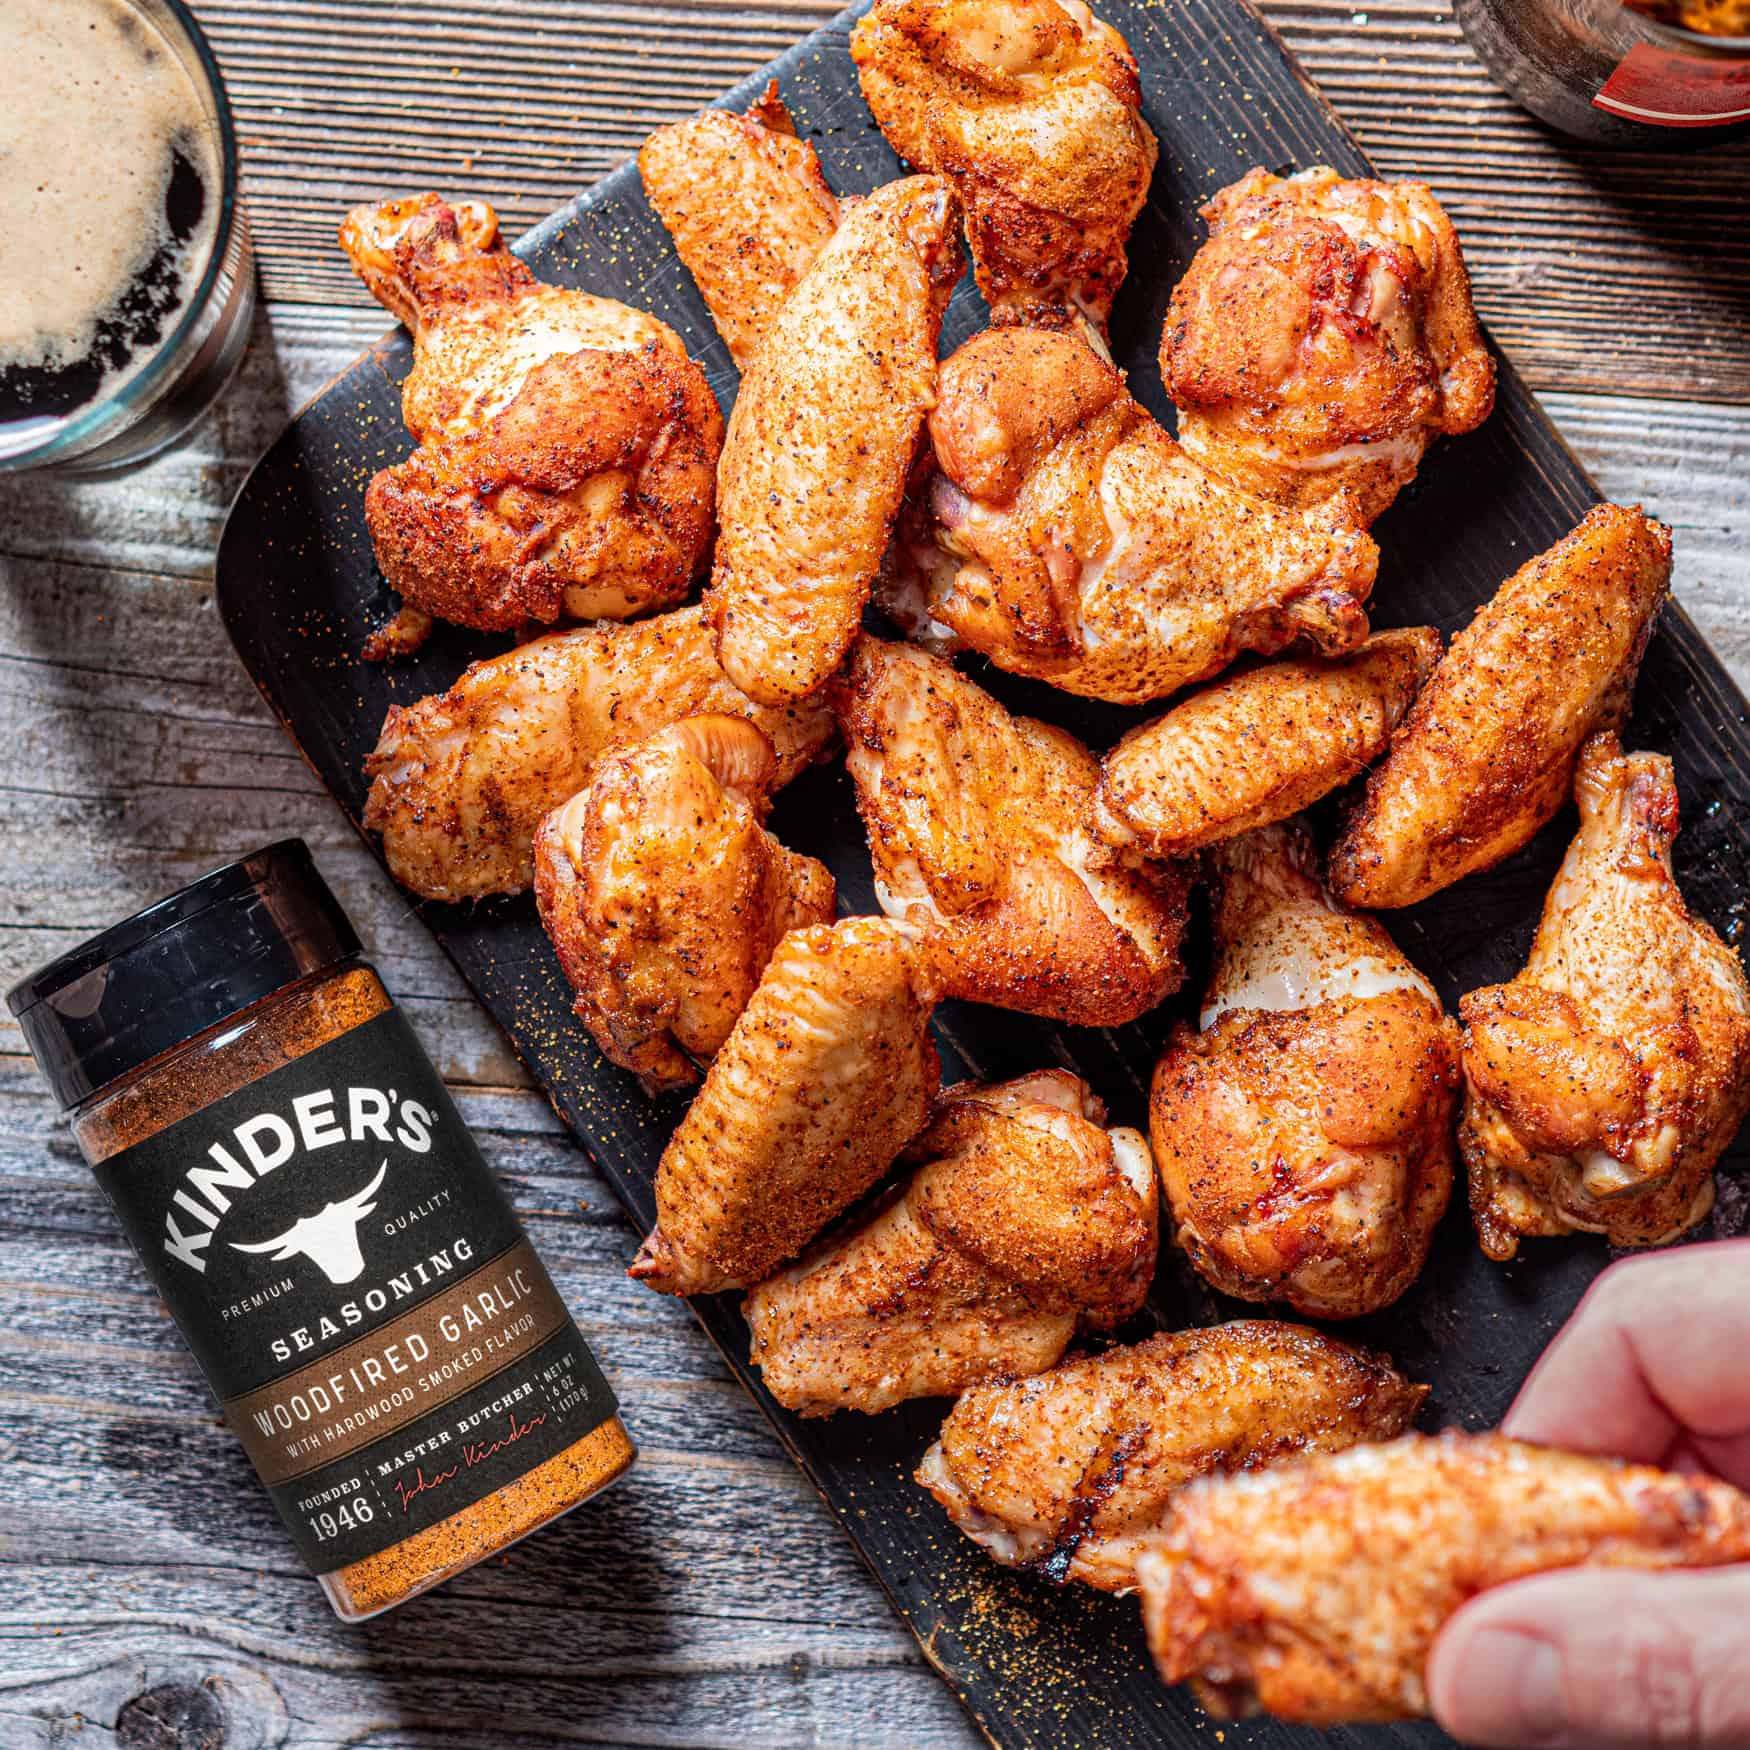
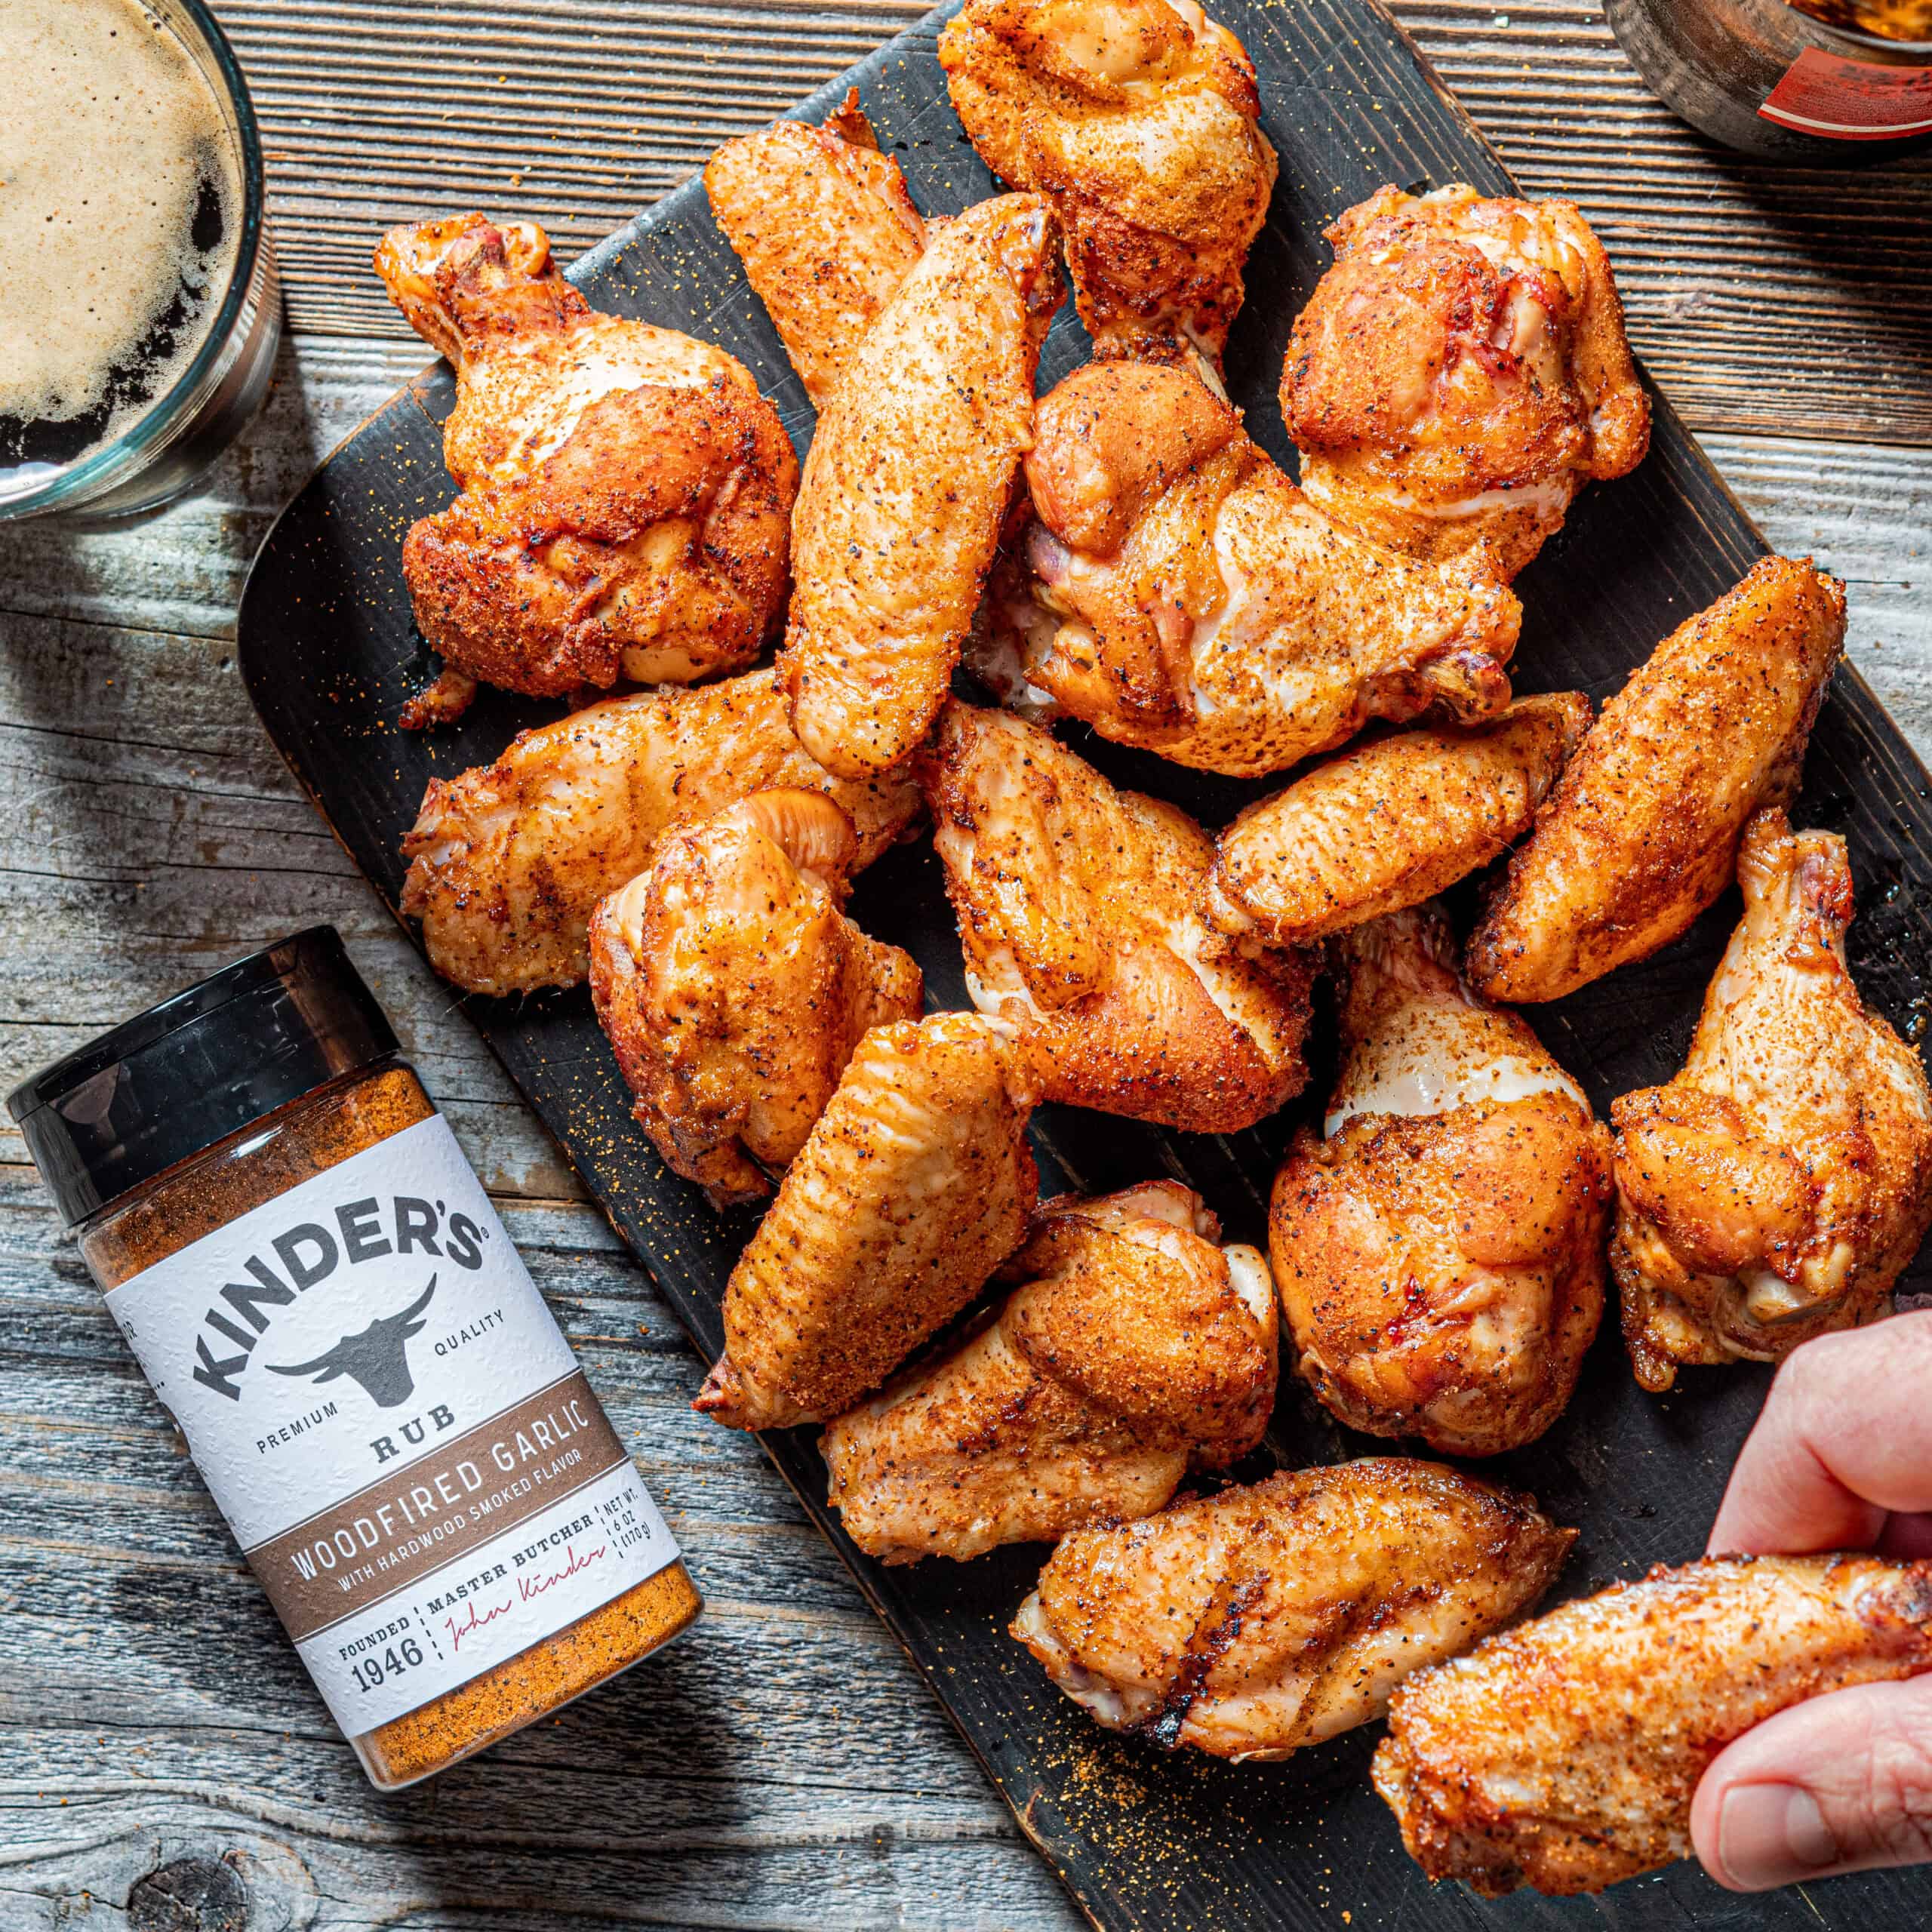
Smoked chicken wings with Kinder’s Woodfired Garlic Seasoning: low-and-slow patience, a high-heat finish, and a seasoning blend that deepens in the smoker rather than burning off.
Low and slow, then hot to finish. That two-stage cook keeps coming back in our chicken wings recipes.
The method runs in two stages. Wings go into a 225–250°F smoker for one and a half to two hours. Kinder’s Woodfired Garlic, roasted garlic base, layered savory spice, mellows and caramelizes over that time, bonding to the skin into something genuinely bold. Then comes the high-heat finish: crank the smoker to 350–375°F (or move them to a hot grill) for the last 15–20 minutes. That’s what takes the skin from rendered to crispy. Both stages are non-negotiable.
Prep is minimal and specific. Dry the wings completely, pat twice with paper towels, no shortcuts. Surface moisture turns to steam in the smoker and stops the skin from rendering. Coat lightly with olive oil or melted butter if using, then season all sides generously with Kinder’s Woodfired Garlic. Let them rest at room temperature for 20–30 minutes while the smoker comes to temp.
Wood choice matters. Kinder’s Woodfired Garlic has enough character that you don’t need heavy smoke on top of it. Apple, cherry, or pecan keep the smoke mild to medium so it complements the seasoning. Hickory if you want a stronger BBQ note. Mesquite over a two-hour cook will overtake everything else, skip it.
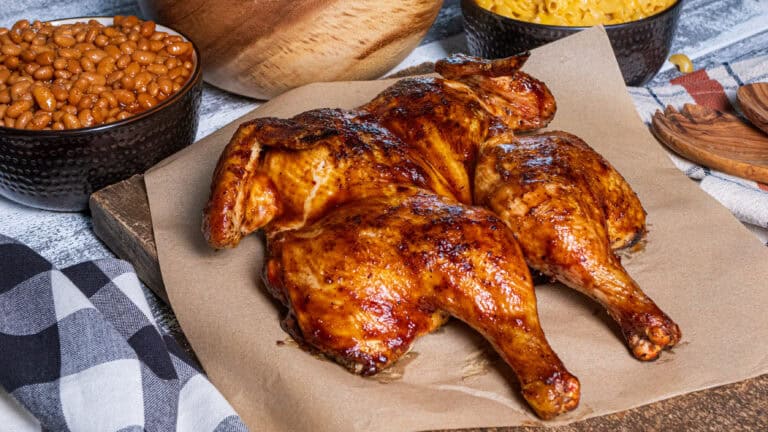
Three to four pounds of wings. Four tablespoons of seasoning. A smoker and roughly two and a half hours. The result: crackle-crisp skin, smoke all the way through, and a garlicky crust that holds up. This is a game day centerpiece and a backyard cookout staple in equal measure, scale the batch and the only constraint is grate space.
Flavor First.
Smoked Chicken Wings with Woodfired Garlic Seasoning
Ingredients
Equipment
Method
- Prep wings: Pat wings completely dry with paper towels — this is the single most important step for crispy skin. Place in a large bowl and lightly coat with olive oil or melted butter if using. Season all sides generously with Kinder’s Woodfired Garlic Seasoning and toss to coat evenly.
- Rest: Let seasoned wings sit at room temperature for 20-30 minutes while your smoker heats up. This allows the seasoning to start adhering and takes the cold edge off the wings for more even cooking.
- Prepare smoker: Preheat smoker to 225-250 degrees F. Add wood chips (apple, cherry, or pecan for mild-sweet smoke; hickory for classic BBQ smoke). Lightly oil the grates.
- Smoke wings: Arrange wings in a single layer on the smoker grates — not touching if possible, to allow smoke and airflow around each wing. Smoke at 225-250 degrees F for 1.5-2 hours until internal temperature reaches 165 degrees F.
- Crisp the skin: For crispy skin, increase smoker temperature to 350-375 degrees F for the last 15-20 minutes of cooking. Alternatively, transfer wings to a hot grill or place under the broiler for 2-3 minutes per side for extra crispiness.
- Rest and serve: Remove wings from heat and let rest 5 minutes before serving. Optionally toss with a little extra Kinder’s Woodfired Garlic Seasoning right before serving for an extra pop of flavor. Serve with your favorite dipping sauce.
Nutrition
Notes
- Dry the wings twice — Pat with paper towels, wait two minutes, pat again. Any moisture left on the surface creates steam in the smoker, which stops the skin from rendering. This single step determines whether you get crispy or soft.
- Space them out on the grates — Wings touching share an air pocket, which slows rendering and crisping. Give each wing its own lane so smoke can circulate all the way around.
- Match the wood to the seasoning — Kinder’s Woodfired Garlic is assertive. Keep the smoke mild to medium: apple, cherry, or pecan. Hickory is the ceiling. Mesquite over two-plus hours will overwhelm everything else.
- Pull at 175°F, not 165°F — Wings are food-safe at 165°F, but pulling at 175–180°F breaks down the connective tissue near the joint. The meat pulls cleaner and the texture is noticeably more tender. Use a probe thermometer, not a timer.
- Don’t skip the high-heat finish — The last 15–20 minutes at 350–375°F (or 2–3 minutes per side over a hot grill) is what separates crispy from soft. The smoke flavor is already set — the finish is just skin work.
- Pile wings on a large platter with celery and carrot sticks. Ranch, blue cheese, or a garlic aioli all work — the aioli plays directly into the Woodfired Garlic profile. Set out a couple of dipping options and let people choose.
- For a split presentation, hold half the batch dry and toss the other half in hot sauce or your favorite BBQ sauce right after the high-heat finish. The contrast — one batch straight off the smoker, one glazed — makes for a better spread than going all one direction.
- These hold temperature well. Tent loosely with foil for up to 20 minutes after resting without losing the crunch. If you’re feeding a crowd, keep the first batch tented while the second batch finishes.
- Refrigerate in an airtight container for up to 3 days. The smoke flavor deepens overnight — leftover smoked wings are not a consolation prize.
- To reheat without losing the crust: place wings on a wire rack over a sheet pan and heat at 400°F for 10–12 minutes. The rack keeps hot air circulating underneath so the skin crisps back up instead of steaming against the pan.
- Freeze cooked wings for up to 2 months. Thaw overnight in the refrigerator and reheat in the oven using the same rack-over-pan method. Microwave reheating softens the skin and is not recommended.
Tried this recipe?
Let us know how it was!Frequently Asked Questions
What wood chips work best with Kinder’s Woodfired Garlic Seasoning?
Apple and cherry are the top picks, mild, slightly sweet smoke that highlights the roasted garlic notes without competing. Pecan adds a nutty mid-intensity. Hickory works if you want a stronger BBQ backbone. Avoid mesquite on a cook this long; it can turn harsh and bitter over two-plus hours.
How do I get crispy skin on smoked chicken wings?
Two things: completely dry wings before they hit the smoker, and don’t skip the high-heat finish. The low-and-slow phase renders the fat under the skin. The high-heat phase, 350–375°F in the smoker or 2–3 minutes per side on a hot grill, crisps it. You need both.
Can I skip the high-heat finish and just smoke the whole time?
You can, wings smoked at 250°F for two hours will crisp somewhat on their own. But if crispy skin is the goal, the temperature bump or grill/broiler finish is the difference between good and great. It’s 15–20 extra minutes and worth every one.
How do I know when the smoker is ready?
A steady 225–250°F and a thin, blue-white stream of smoke is the signal. Thick white billowing smoke is unsettled wood, it tastes acrid on food cooked in it. Wait for the smoke to calm before putting the wings on.
What internal temperature should smoked wings reach?
165°F is the food safety minimum, but 175–180°F is where the texture actually improves. At that temperature the connective tissue near the joint has broken down and the meat pulls clean and tender. Use a probe thermometer at the thickest part of the drum, away from the bone.
Can I make these without a dedicated smoker?
A charcoal grill set up for indirect heat with wood chips works. Bank the coals to one side, place soaked wood chips directly on the coals, and maintain 225–250°F with the lid vent mostly closed. It takes more attention than a dedicated smoker but produces a comparable result.
More like this: Grilling Recipes · Game Day Recipes · Chicken Recipes · Kinder’s Recipes
One Good Recipe a Week
No spam, no life stories. A recipe worth cooking, in your inbox.