Grilled Spatchcock Chicken with Kinder’s Chipotle Pineapple BBQ Sauce
Grilled Spatchcock Chicken with Kinder’s Chipotle Pineapple BBQ Sauce
Grilled spatchcock chicken fixes every problem you’ve had cooking a whole bird. Dry breast while the thighs lag behind. Skin that burns before the interior is done. A round bird rocking on the grates and cooking unevenly. One cut changes all of it.
Spatchcocking is the fix for a bird that cooks unevenly, and a cornerstone of our BBQ chicken recipes.
Remove the backbone. Flatten the bird. The whole chicken cooks in a single plane, breast and thigh at the same distance from the heat, the skin exposed and ready to char. The technique is sound before the Kinder’s products even enter the picture.
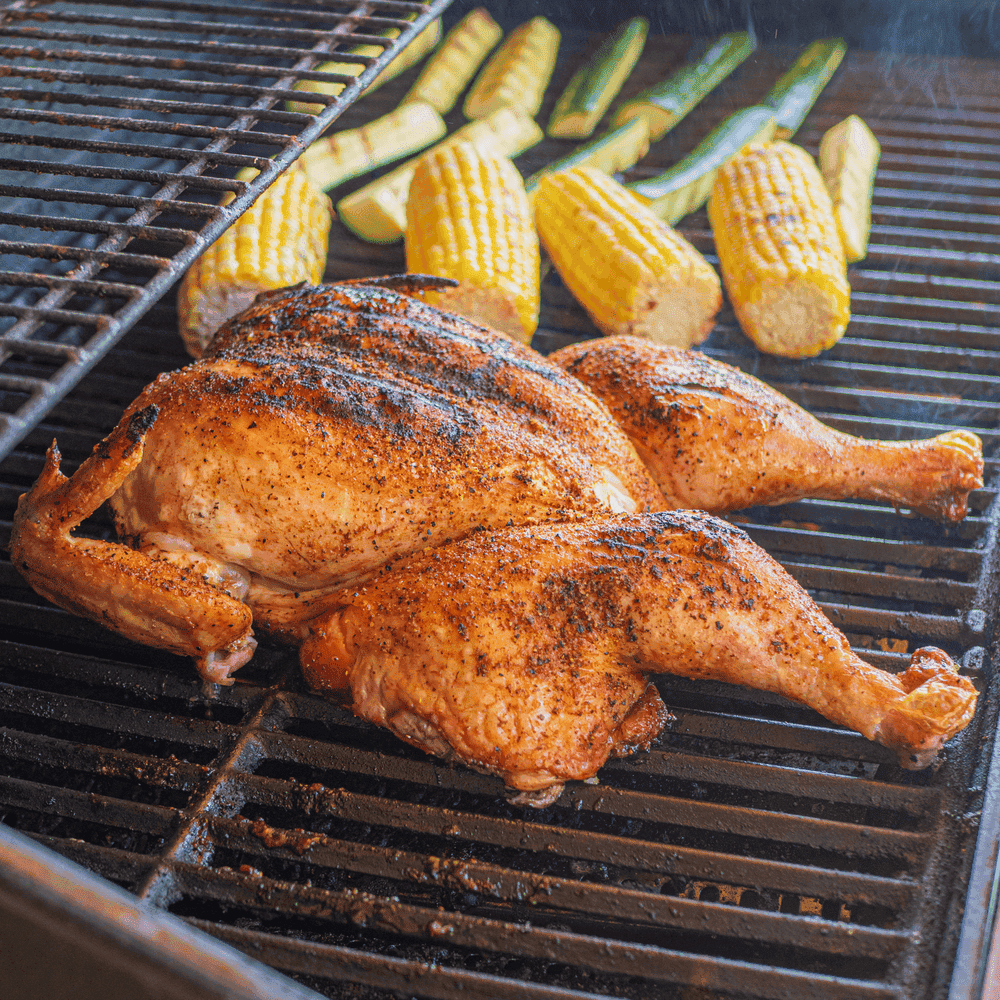
Here’s how the cook goes. Start skin-side up on the indirect zone at 350°F. The breast climbs to 120°F over 35 to 45 minutes, gently, evenly, without the skin in contact with direct flame. Then move it skin-side down over direct heat. Five to seven minutes. The skin goes from pale to deeply browned with real char at the edges. While it’s down there, brush the underside with Kinder’s Chipotle Pineapple BBQ Sauce. Move it back indirect, skin-side up, brush the top, let the sauce set, brush again. Pull at 150°F. Rest 10 minutes. That’s the cook.
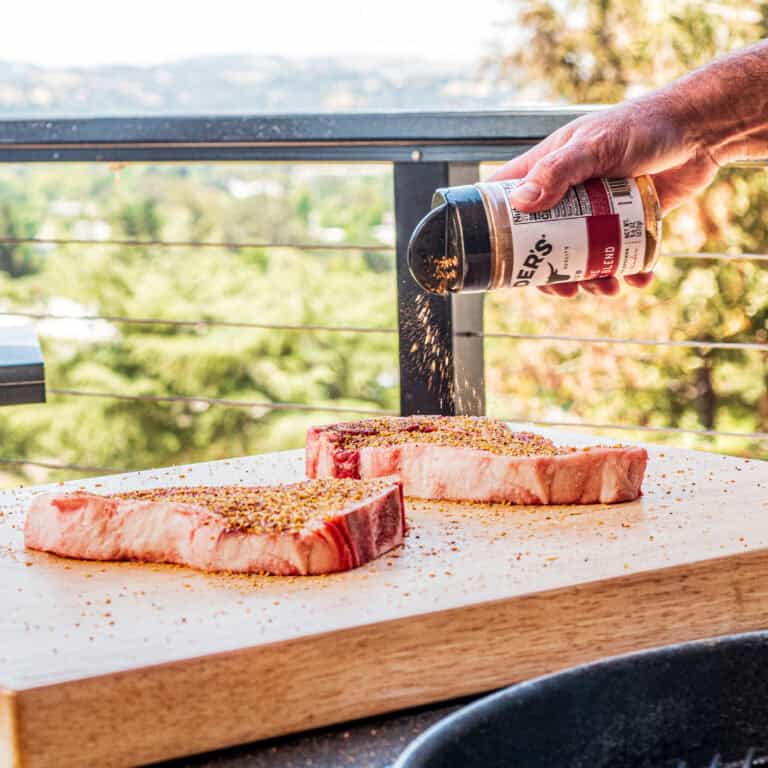
Kinder’s All Purpose Seasoning goes on the raw bird right after spatchcocking, both sides, generously, then 30 minutes at room temperature before the grill. By the time the bird hits the grate, the seasoning has had time to work into the surface. Kinder’s Chipotle Pineapple BBQ Sauce comes in at the finish. Two coats in the final 15 minutes build a lacquer, caramelized, sweet-smoky, clinging to the charred skin. One thick coat doesn’t do the same thing. Two thin layers do.
Spatchcocking cuts grill time by 30 to 40 percent compared to a whole bird. It also makes carving straightforward, two leg quarters and two breast halves, each portion with skin. Eighty minutes from whole chicken to the best bird you’ve put on a grill.
Flavor First.
Grilled Spatchcock Chicken
Ingredients
Equipment
Method
- SPATCHCOCK: Place the chicken breast-side down on a large cutting board. Using sharp kitchen shears, cut along both sides of the backbone and remove it entirely. Flip the chicken over so the breasts face up. Press down firmly on the breastbone with both hands until it cracks and flattens. Tuck the wing tips behind the back. Pat the chicken dry if needed.
- SEASON: Season the entire surface of the chicken generously with Kinder’s All Purpose Seasoning — both sides, including the underside. Let the seasoned chicken sit at room temperature for 30 minutes.
- GRILL SETUP: Prepare a two-zone cooking setup on the grill. Preheat for 5-10 minutes until the grill reaches 350 degrees F. Clean the grates with a grill brush and wipe with a lightly oiled cloth.
- INDIRECT COOK: Place the chicken skin-side UP on the cooler, indirect side of the grill, with the legs angled toward the hotter zone. Close the lid and cook until the thickest part of the breast reaches 120 degrees F — approximately 35 to 45 minutes.
- DIRECT CHAR: Once the breast hits 120 degrees F, move the chicken skin-side DOWN directly over the hot zone. Grill uncovered for 5-7 minutes until the skin is deeply browned and lightly charred. While skin-side down, brush the underside (now facing up) with Kinder’s Chipotle Pineapple BBQ Sauce.
- SAUCE AND FINISH: Carefully transfer the chicken back to the indirect side, skin-side UP. Brush the top generously with Kinder’s Chipotle Pineapple BBQ Sauce. Close the lid and cook for 5 minutes until the sauce begins to set. Add a second layer of sauce, close the lid again, and continue cooking until the thickest part of the breast reaches 150 degrees F — about 5 to 10 additional minutes.
- REST AND CARVE: Remove from the grill and rest for 10 minutes. Carve and serve — the chicken will have continued cooking during the rest to a fully safe temperature.
Nutrition
Notes
- Paper towel grip — Grip the spine at the cut edge with a dry paper towel while the shears do the cutting. The paper towel gives you control over the carcass without your hand slipping. Worth the extra second.
- Crack the breastbone fully — Press down with both palms until you feel and hear the break. If it’s only partially cracked, the bird bows in the center and the breast cooks faster than the thigh. Flat is even. Flat is the whole point.
- Indirect first, direct to finish — Starting skin-side up over indirect heat lets the breast reach 120°F without the skin touching the flame. Flipping to direct heat after that gives you a controlled char instead of a burned skin over raw meat.
- Move decisively during the flip — Use large tongs and commit to the transfer. The skin is the most delicate part of the cook. A slow, tentative flip tears it. One clean move.
- Two sauce layers, not one — The first coat sets during 5 minutes with the lid closed. The second goes on wet, then caramelizes in the final minutes. Two thin layers build a lacquer. One heavy coat steams and pools.
- Pull at 150°F, rest 10 minutes — USDA pasteurization at 150°F with a rest period is fully food-safe. Chicken breast pulled at 165°F from the grill is consistently dry. This is the number that produces juicy white meat.
- Carve into quarters — two leg quarters and two breast halves — and plate on a board. Put extra Kinder’s Chipotle Pineapple BBQ Sauce in a small bowl on the side. The skin holds, the portions are clean, and it looks like you meant business from the start.
- For a backyard cookout spread: grilled corn, coleslaw, and potato salad. The sweet-smoky lacquer on the chicken connects to the char on the corn and cuts through a vinegary slaw.
- Next day: pull the cold leftover meat and use it in tacos with pickled red onion, fresh cilantro, and a drizzle of the BBQ sauce. Or slice it over coconut rice with grilled pineapple — the pineapple in the Kinder’s sauce ties directly to that pairing.
- Carve and store leftover chicken in an airtight container in the refrigerator for up to 4 days. Reheat in a 350°F oven, skin-side up, loosely covered with foil, for 12 to 15 minutes until warmed through. Skip the microwave — it steams the skin and kills the lacquer you spent time building.
- Cold leftover chicken pulls clean for salads, grain bowls, sandwiches, and tacos without reheating. The seasoning holds and the BBQ lacquer keeps its flavor on day two. If you’re pulling for tacos, cold is actually the better call — the texture is firmer and slices cleanly.
Tried this recipe?
Let us know how it was!Frequently Asked Questions
What is spatchcocking and why does it work better on a grill?
Spatchcocking removes the backbone and flattens the bird into a single plane. On a grill, that means every section, breast, thigh, drumstick, sits at the same distance from the heat source. The breast and thigh finish much closer to the same time, and the whole cook takes 30 to 40 percent less time than a whole roast chicken.
Why does this recipe pull the breast at 150°F instead of 165°F?
USDA guidelines allow pasteurization at lower temperatures with sufficient hold time, 150°F held through a 10-minute rest is fully food-safe. More practically, chicken breast pulled at 165°F off a grill is consistently dry. 150°F and a rest gets you juicy white meat without the risk.
Can I use a different Kinder’s sauce?
Yes. Kinder’s Original BBQ Sauce, Hickory Brown Sugar BBQ Sauce, or Bourbon Apple BBQ Sauce all work with the All Purpose seasoning base. The Chipotle Pineapple gives you the sweet-smoky-tropical profile this recipe is built around, but any Kinder’s sauce finishes the cook correctly.
Do I need to oil the chicken before seasoning?
No. Pat the bird dry after spatchcocking, season generously on both sides, and the Kinder’s All Purpose adheres to the skin’s natural moisture. Wipe the grill grates with an oiled cloth before cooking to prevent sticking, that’s where the oil matters.
How do I set up a two-zone grill for this recipe?
For gas: preheat all burners for 5 to 10 minutes, then turn off one side. The hot side handles the direct char phase; the off side handles the long indirect cook. For charcoal: bank the coals to one side of the kettle. You want the indirect zone to hold around 325 to 350°F with the lid closed.
Can I spatchcock the chicken the night before?
Yes. Spatchcock, season with Kinder’s All Purpose, and refrigerate uncovered on a wire rack overnight. The skin dries out slightly, which helps it char and crisp faster when it hits the direct heat phase. Pull it from the fridge 30 minutes before grilling.
More like this: Grilling Recipes · Chicken Recipes · Summer Grilling Recipes · Kinder’s Recipes
One Good Recipe a Week
No spam, no life stories. A recipe worth cooking, in your inbox.