Spicy Roasted Garlic Pulled Chicken Nachos
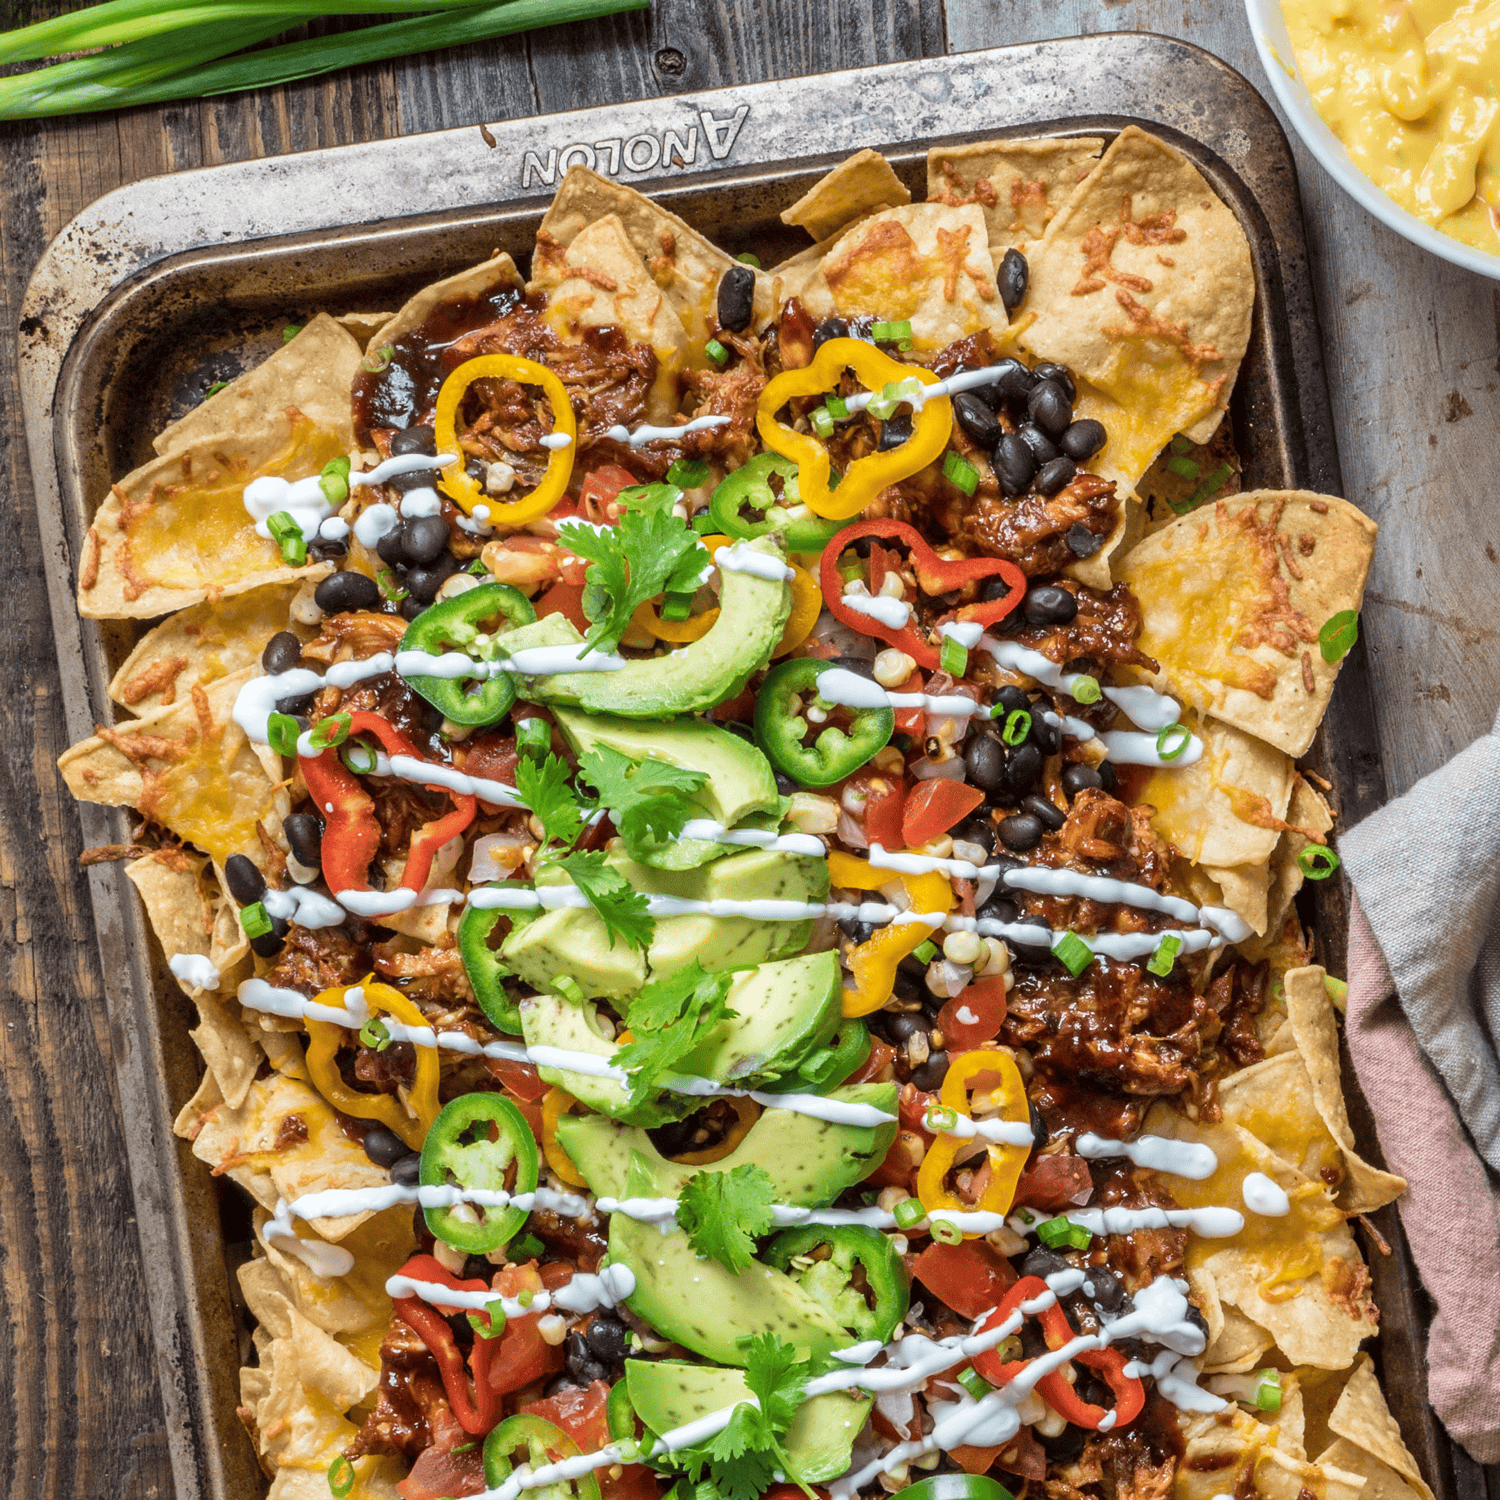
Spicy Roasted Garlic Pulled Chicken Nachos
Most nachos fail at the foundation. Chips go down, everything gets piled on top, and half the batch is bare by the time you pull it from the oven. The fix is layering, and it’s the reason these pulled chicken nachos actually work.
Layer, do not pile. That single fix carries a lot of our game day recipes.
Start with the chicken. Heat olive oil in a skillet, add minced garlic, and let it cook until fragrant. One to two minutes. Then add your pulled rotisserie chicken, coat it in BBQ sauce, and simmer on low until the flavors lock in. Three minutes of actual technique that changes the whole thing.
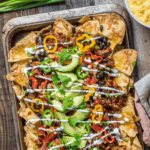
Build the layers: half the chips flat on the pan, half the sharp cheddar over those, then all the garlic BBQ chicken spread so every chip gets coverage. Second layer of chips. Remaining cheddar. Into a 400°F oven for eight to ten minutes until the cheese is fully melted and the edges are starting to brown.
The fresh toppings, sliced jalapeño, diced roma tomato, avocado, fire-roasted corn, sweet peppers, go on after the oven. Not before, not during. Cold toppings on hot nachos keeps everything split: crispy and melted underneath, fresh and bright on top.
Fire-roasted corn and black beans earn their place. They add texture where the cheese is rich and hold up against the chip crunch without going soft.
Under thirty minutes. Two full layers. Toppings that land.
Flavor First.
Spicy Roasted Garlic Pulled Chicken Nachos
Ingredients
Equipment
Method
- Preheat oven to 400°F.
- Heat olive oil in a skillet over medium heat.
- Add minced garlic to the hot oil and cook for 1-2 minutes, stirring frequently, until fragrant but not browned.
- Reduce heat to low and add the pulled rotisserie chicken to the skillet.
- Pour in the BBQ sauce and stir the chicken mixture well to evenly coat all the chicken.
- Simmer on low heat for 2-3 minutes until the chicken is warmed through and the flavors meld.
- Line a large baking sheet with aluminum foil for easy cleanup.
- Spread half of the tortilla chips in a single layer on the foil-lined baking sheet.
- Sprinkle half of the shredded cheddar cheese evenly over the chips.
- Top the cheese generously with the warm garlic BBQ chicken mixture, spreading it out so each nacho gets chicken.
- Scatter half of the drained black beans and half of the drained fire-roasted corn over the first layer.
- Create a second layer by arranging the remaining tortilla chips over the chicken layer.
- Sprinkle the remaining cheddar cheese over the second layer of chips.
- Bake for 8-10 minutes in the preheated 400°F oven until the cheese is completely melted and the chips are warm.
- Remove the nachos from the oven.
- Top with the remaining black beans, corn, diced roma tomatoes, sliced avocado, sliced jalapeños, and sliced sweet peppers.
- Serve immediately while the cheese is still melted and the chips are warm and crispy.
Nutrition
Notes
- Layer, don’t pile — Build two full layers: half the chips and cheese down first, then all the chicken, then remaining chips and cheese on top. Every chip gets something.
- Fresh toppings come last — Pull the nachos from the oven before adding avocado, jalapeño, and tomato. Warm avocado turns mealy. Cold toppings against hot melted cheese is the contrast you want.
- Use a cooling rack inside your baking sheet — It lifts the chips off the pan so heat circulates underneath. Crispier bottoms and a longer hold before they go soft.
- Prep all toppings before the nachos go in — Assembly moves fast once the timer goes. Have everything sliced and ready before the pan hits the oven.
- Spread the chicken, don’t clump it — Distribute the garlic BBQ chicken evenly across the first layer so every chip zone has coverage. Clumped chicken means uneven bites.
- The nachos need something cold on the side. Lime crema — sour cream cut with fresh lime juice and a pinch of salt — works as a drizzle or a dip. Thin it with more lime if you want it pourable.
- Pico de gallo and guacamole are the natural calls. If you’re going guac, keep it simple: avocado, lime, salt, cilantro if you’ve got it. The nachos are already loaded; the sides don’t need to compete.
- For drinks: cold Mexican lager, agua fresca with hibiscus or tamarind, or sparkling water with lime. The chips and melted cheese need something with acid or carbonation to cut through.
- Nachos don’t store well. Once the chips absorb moisture from the toppings and cheese, you can’t reheat your way back to crispy.
- Keep every component separate if you’re prepping ahead: chicken mixture sealed in the fridge for up to three days, toppings prepped and stored separately, chips in the bag. Assemble and bake fresh when you’re ready to eat.
- If you end up with leftovers, reheat the chicken mixture in a skillet, put fresh chips on a new sheet, and build the nachos again. That’s the only route back to crispy.
Tried this recipe?
Let us know how it was!Frequently Asked Questions
Can I use store-bought rotisserie chicken?
Yes, that’s the whole point. Pull the meat yourself for better texture and portion control, or grab pre-pulled from the deli counter if you’re moving fast. Either works.
What BBQ sauce works best for pulled chicken nachos?
Something with body and a little sweetness. Avoid thin, vinegar-heavy sauces, they get absorbed into the chicken before it hits the chips. Kinder’s Original BBQ Sauce works well here. Whatever you use, it should coat the chicken, not just stain it.
How do I keep the chips from getting soggy?
Don’t overload any single layer, and serve immediately after the oven. The chips go soft once the moisture sets in. If you’re serving a crowd, have a second pan ready to go while the first one gets eaten.
Can I make this spicier?
Swap sliced serrano for jalapeño, or stir a few dashes of hot sauce into the BBQ chicken while it simmers. You can also add crushed red pepper flakes over the cheese layer before it goes in the oven.
Can I make this ahead of time?
Not assembled, nachos go straight from oven to table. Make the chicken mixture ahead and refrigerate it for up to three days. Prep all toppings and store them separately. Assemble and bake fresh when you’re ready to serve.
What’s the best cheese for nachos?
Sharp cheddar melts well and holds flavor under the heavier toppings. Pepper jack adds heat. A blend of both works. If you can, skip pre-shredded bags, the anti-caking coating slows the melt.
More like this: Pulled Pork Recipes · Appetizer & Dip Recipes · Chicken Recipes · Kinder’s Recipes
One Good Recipe a Week
No spam, no life stories. A recipe worth cooking, in your inbox.