Ingredients
Equipment
Method
- In a skillet over medium-high heat, brown the ground beef for 7-10 minutes, stirring frequently to break up the meat. Cook until no pink remains.
- Add Kinder's Woodfired Chili Seasoning to the skillet and stir for about 1 minute, ensuring the seasoning coats the meat evenly.
- Transfer the seasoned beef to a slow cooker set to High.
- Add water or beef broth, diced tomatoes (undrained), and drained kidney beans to the slow cooker. Stir to combine.
- Cook on High for 1-3 hours, stirring occasionally. Cook longer for a thicker, more concentrated chili.
- Serve hot with toppings of choice.
Nutrition
Notes
- Brown the beef before it goes in — Don't skip this step. Get a real sear in a hot skillet, break up the meat, let it develop color, and drain the excess fat. That crust carries through the entire slow cook and shows up in every bite.
- Broth over water — Beef broth builds body in the base that water can't replicate. Go low-sodium — regular broth can push the chili too salty once the Kinder's seasoning packet is in.
- Time controls texture — The 1-3 hour range is real flexibility. At 1 hour you get a looser, brothier chili. At 3 hours with the lid slightly ajar for the final 45 minutes, it tightens into a thick, hearty bowl.
- Don't drain the tomatoes — The liquid in the can is part of the base. Leave it in for acidity and body.
- It gets better the next day — Chili is one of the few dishes where reheated beats fresh. Make it ahead if you can; the flavors keep developing overnight in the refrigerator.
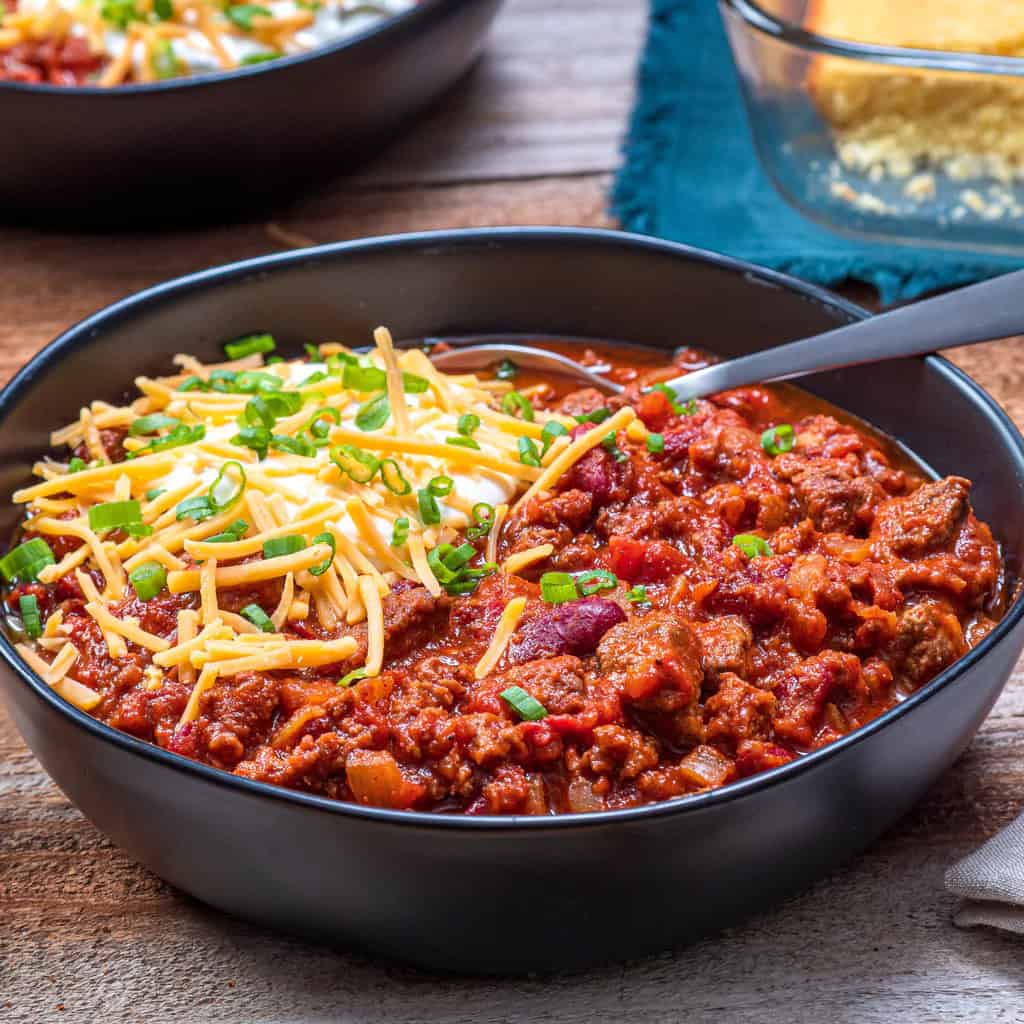
- Serve in bowls with shredded cheddar, sour cream, diced white onion, and sliced jalapeños. Warm cornbread alongside or tear into flour tortillas for dipping. The bowl is the baseline — everything else is a variation.
- For loaded nachos: spoon the chili hot over tortilla chips, cover in shredded cheese, add jalapeños and sour cream, and finish with a hit of hot sauce. This version goes fast at a table or straight off the stovetop.
- Try the Woodfired Chili dog — simmer all-beef hot dogs and spoon the chili over the top with mustard, diced white onion, and shredded cheddar. Works at a backyard cookout or on a Tuesday night.
- Refrigerator: Store in an airtight container for up to 4 days. The chili thickens as it cools — that's normal, and the flavor keeps developing.
- Freezer: Freeze in portioned containers for up to 3 months. Thaw overnight in the refrigerator before reheating.
- Reheat: Warm on the stovetop over medium heat, stirring occasionally, or microwave in 90-second intervals. Add a splash of beef broth or water to loosen if needed.