Ingredients
Equipment
Method
- Preheat oven to 375°F.
- Line a baking sheet with parchment paper or a silicone baking mat.
- Place 1/3-cup mounds of shredded cheddar cheese on the lined baking sheet, spacing them about 2 inches apart (you should fit 4 mounds per sheet for 8 tacos total).
- Using the back of a spoon, gently spread each mound of cheese into a thin, relatively uniform circle about 4-5 inches in diameter.
- Bake for 5-7 minutes, watching closely. The cheese should be melted, bubbly, and just beginning to turn slightly golden around the edges. Don't allow it to brown too much or turn dark.
- Remove from oven and let the cheese cool on the baking sheet for 30 seconds to 1 minute—it should still be warm and slightly pliable but firm enough to move without tearing.
- Set up a taco-forming station: place two small glasses or bowls upside down on your counter with a wooden spoon laid across the top as a bridge.
- Using a spatula or thin metal turner, carefully transfer each hot cheese disc to the wooden spoon bridge, draping it over the spoon to form a taco shell shape. The sides will naturally fold down as the cheese cools.
- Let the cheese shells cool completely (about 5 minutes) before removing them carefully from the bridge. They'll crisp up as they cool.
- Repeat the baking and forming process with the remaining cheese mounds if you want to make all 8 tacos fresh, or work in batches.
- While the cheese shells are forming, brown the ground beef in a large skillet over medium-high heat, breaking it apart with a spoon as it cooks (about 5-7 minutes).
- Drain any excess fat from the skillet.
- Add the taco seasoning, lime juice, and water to the cooked beef and stir well to combine.
- Simmer for 5 minutes, stirring occasionally, until the sauce reduces slightly and coats the beef.
- Taste and adjust seasonings as needed.
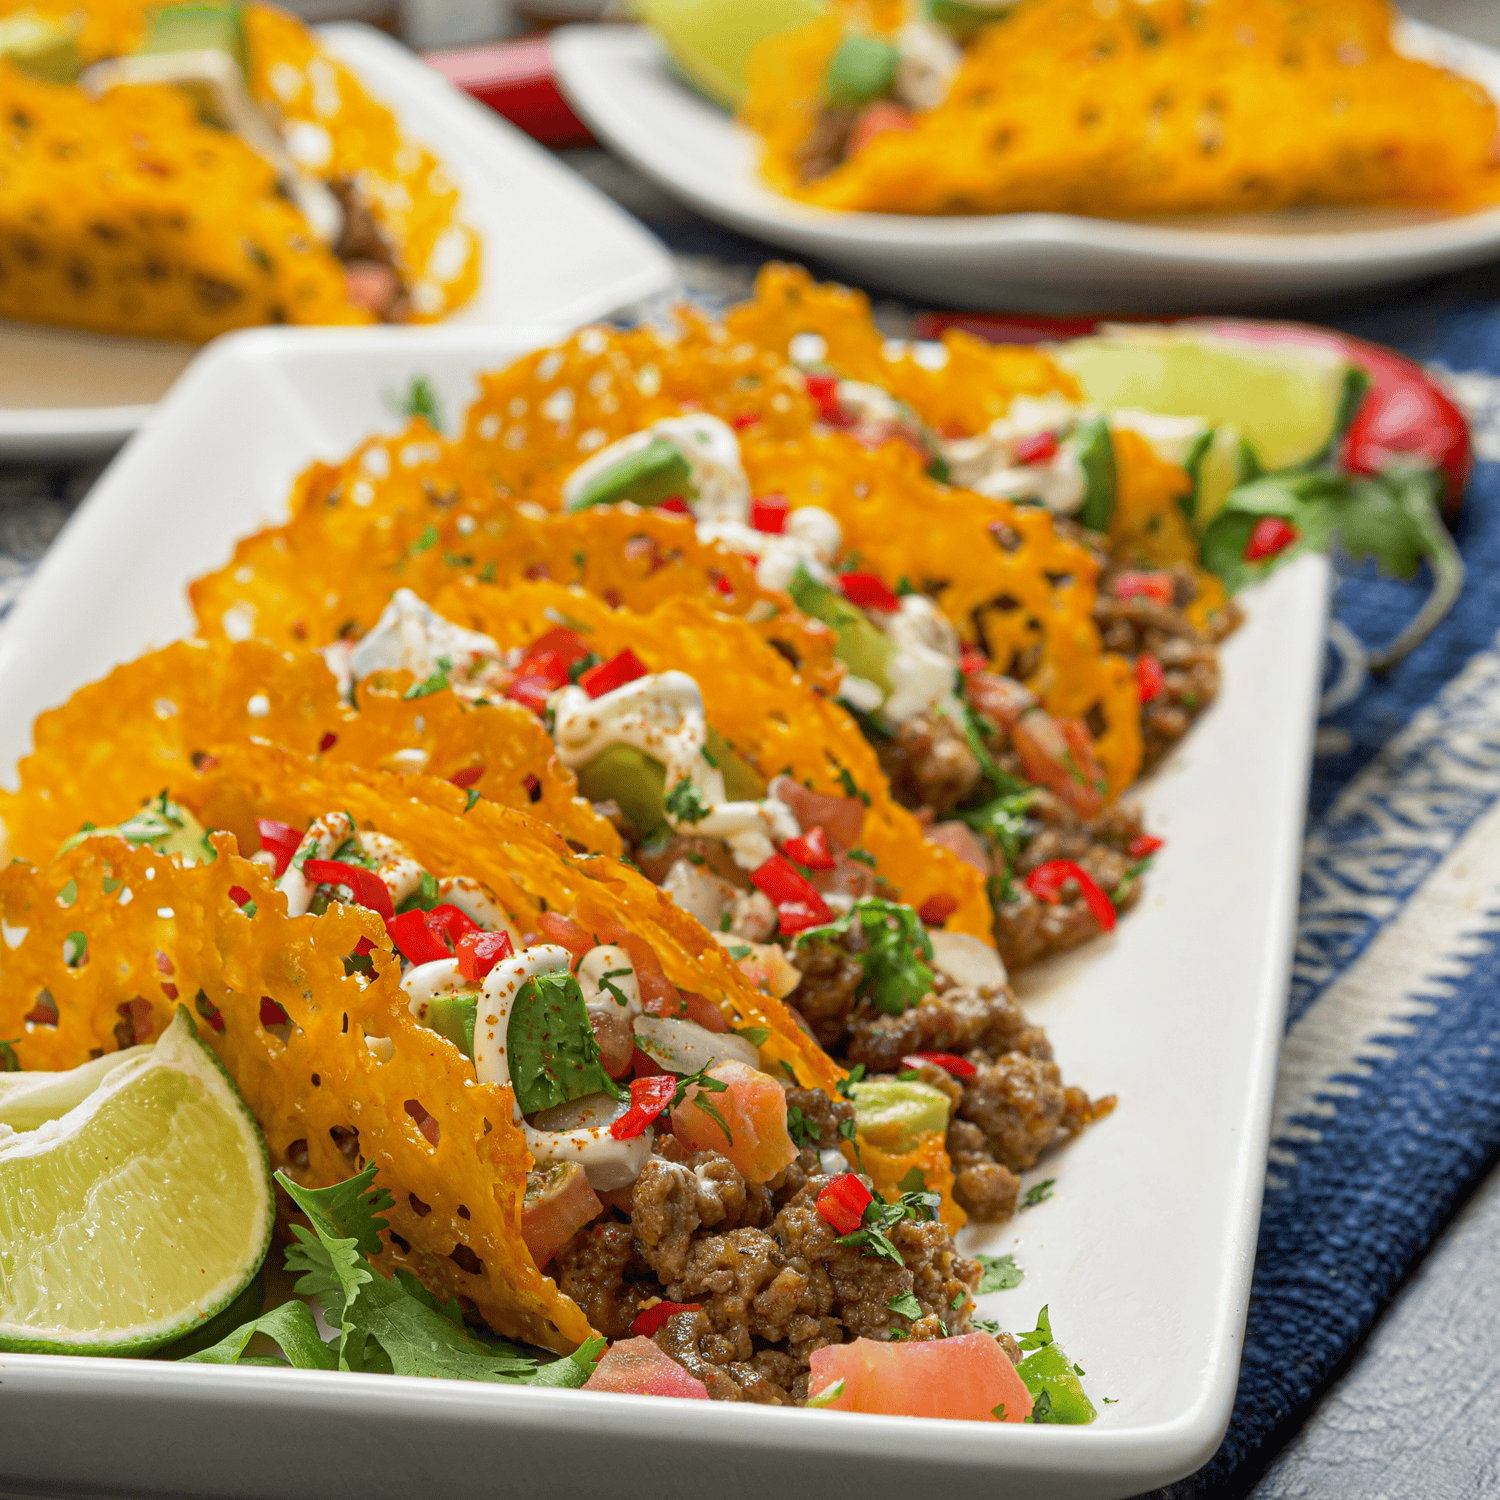
- To assemble tacos, fill each cheese shell with the warm seasoned beef.
- Top with fresh diced tomatoes, red onion, avocado, and sour cream.
- Garnish with fresh cilantro and chili pepper slices if desired.
- Serve immediately while the cheese shells are still slightly warm and crispy.
Nutrition
Notes
- Time the bake window — Pull the cheese at 5-7 minutes. Melted and bubbly, barely golden at the edges. Past that point the shell cracks when you mold it.
- Pre-stage the bridge — Two small glasses upside down with a wooden spoon laid across the top. Set this up before the cheese goes in the oven so you're not scrambling when the timer hits.
- Blot before you mold — Lay a paper towel on the hot cheese disc for 2-3 seconds to pull excess grease before transferring to the spoon. Less grease, cleaner crisp.
- Cool completely — Five minutes on the bridge, untouched. Pulling them early collapses the shape.
- Make shells ahead — Finished shells keep at room temperature in an airtight container for 2-3 hours. Don't refrigerate — moisture kills the crisp.
- Season the cheese — A pinch of chili powder or cumin mixed into the shredded cheddar before baking adds a second hit of flavor that carries through every bite.
- Load the shells right before you eat. Warm seasoned beef goes in first, then diced tomatoes, red onion, and avocado, then a hit of sour cream and fresh cilantro. The contrast between hot beef and cold toppings is part of the play here.
- Cauliflower rice with lime zest and cilantro is the natural side — it fills the plate without adding carbs. Pico de gallo and guacamole on the side let people dip the shell edges between bites.
- For a group, run the shells in two baking-sheet batches before anyone sits down. Line them up on a board, keep the beef warm in the skillet on low, and let people build their own.
- Cheese shells are best eaten the day they're made. Store unfilled shells in an airtight container at room temperature for up to 2-3 hours. Don't refrigerate — moisture softens the shell fast and kills the crisp.
- The seasoned beef keeps well. Store it in the refrigerator, covered, for up to 3 days. Reheat in a skillet over medium heat with a small splash of water to loosen it up.
- Assembled tacos don't store. The filling softens the shell quickly. Keep components separate and assemble fresh each time.