Ingredients
Equipment
Method
- Preheat the oven or grill to 250°F.
- Place ribs on a cutting board and peel the silvery membrane off the back of the ribs using a knife or paper towel for better grip.
- Rinse the ribs under cold water and pat dry thoroughly with paper towels.
- Generously coat all sides of the rack with Kinder's Brown Sugar Rub, working the seasoning into every crevice.
- With the rib rack meat-side down, fold aluminum foil around the entire rack to create a tight seal, leaving a small opening for steam.
- Transfer the foil-wrapped ribs to a sheet pan and place in the preheated oven or on the grill over indirect heat.
- Cook for approximately 2 hours until the ribs are beginning to become tender.
- Remove from the oven and allow to cool for 15 minutes.
- Carefully open the foil and increase the oven or grill temperature to 350°F.
- Brush the meat side of the ribs generously with BBQ sauce.
- Place the rack meat-side up on a sheet pan and return to the oven. Bake for 10 minutes.
- Remove from the oven and brush another generous layer of BBQ sauce on the meat side only.
- Return to the oven and repeat the baking and brushing process 3 more times (bake 10 minutes, brush sauce, repeat), or until the ribs reach your desired tenderness and the sauce has caramelized into a sticky glaze.
- Remove from the oven and let rest for 10 minutes.
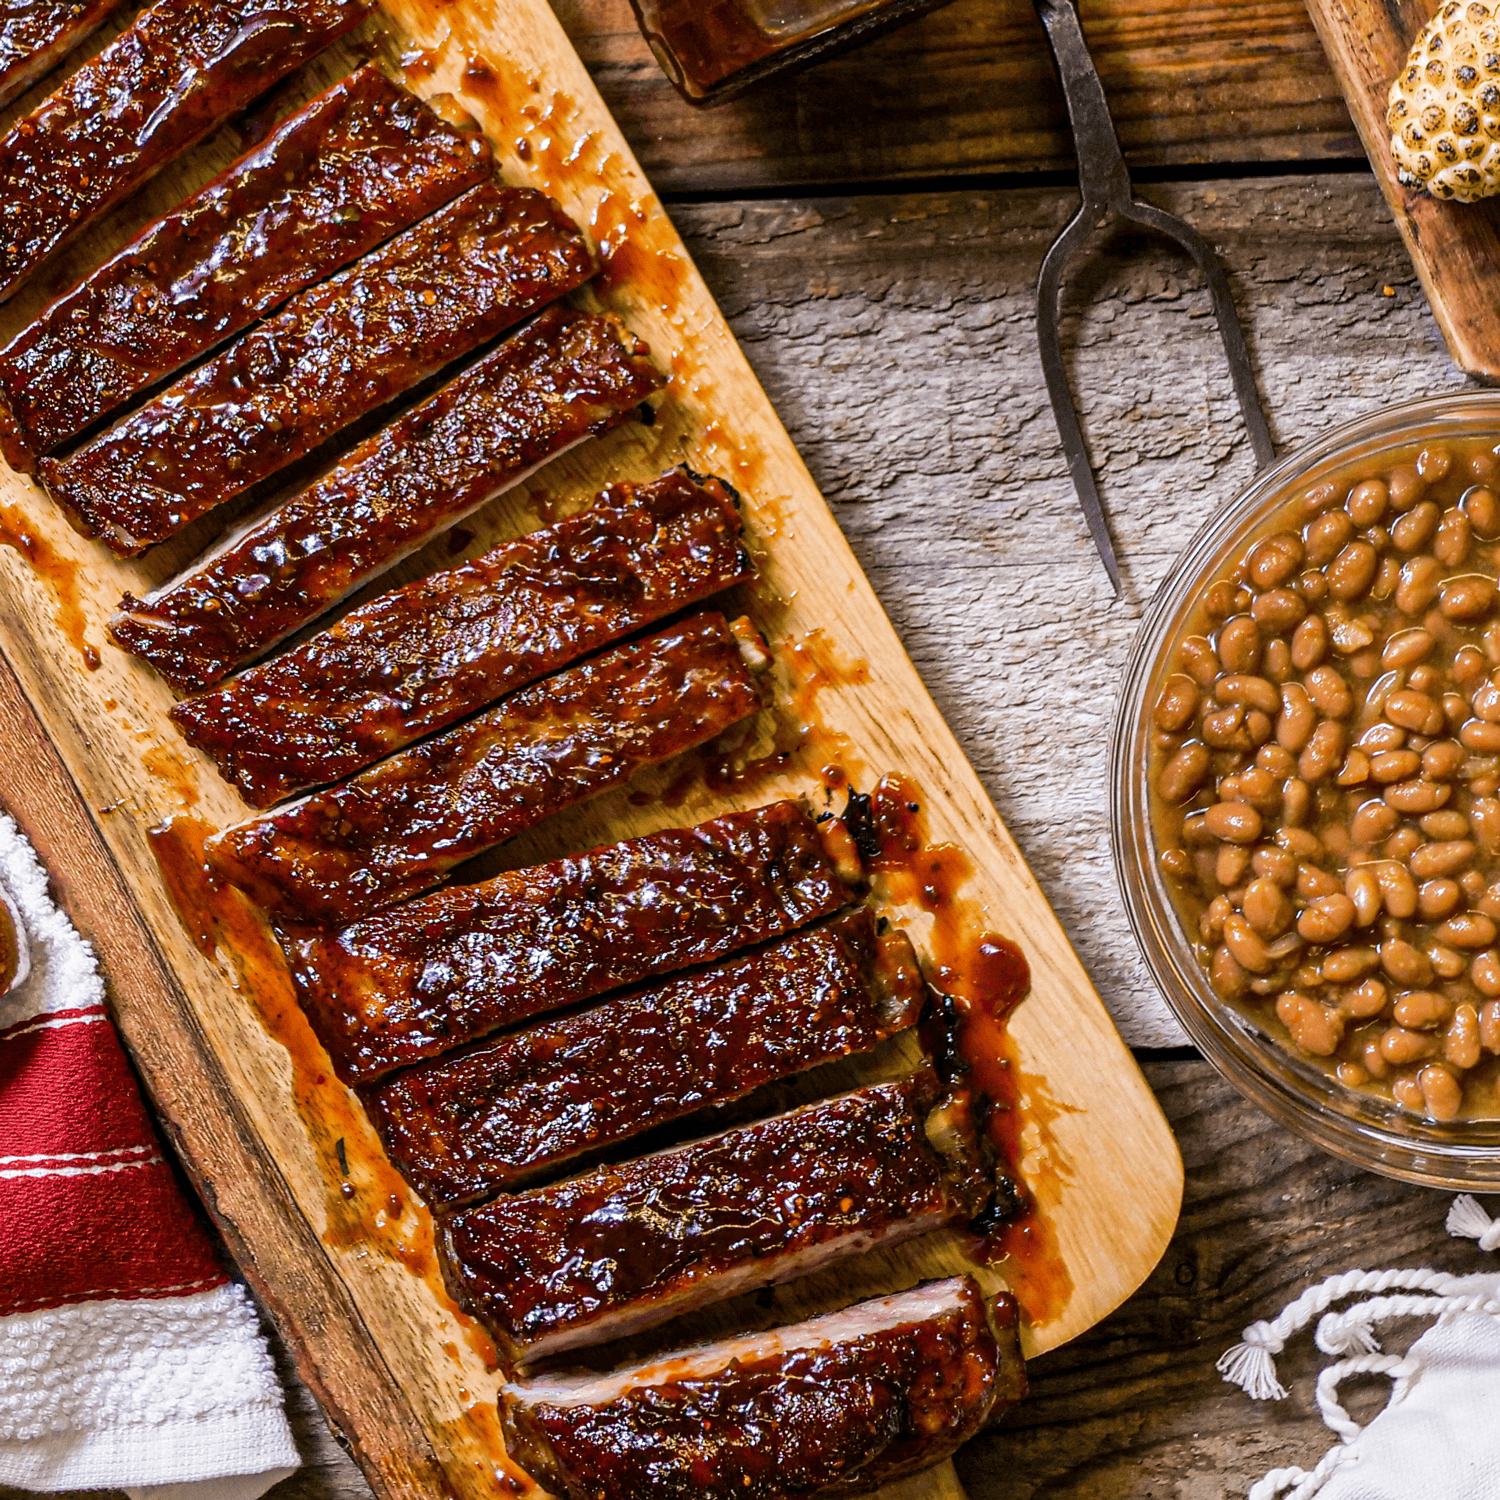
- Cut between the bones to separate individual ribs and serve immediately with extra BBQ sauce for dipping.
Nutrition
Notes
- Pull the membrane first — Before seasoning, peel the silvery membrane off the bone side of the rack. It's tough, doesn't render, and blocks the rub from reaching the meat. Grab it with a paper towel for grip and pull in one clean motion.
- Dry the rack before the rub goes on — Pat completely dry after rinsing. Moisture on the surface means the rub slides instead of sticking, and the crust won't form the way you want it.
- Seal the foil tight — The Texas crutch only works if the steam stays in. Fold and crimp the edges carefully. A loose wrap is just a tent, not a crutch.
- Layer the sauce, don't dump it — Four rounds at 350°F, ten minutes each. Each coat needs to set and caramelize before the next one goes on. That's what builds the glaze.
- Check temp, not just time — The ribs are done when the thickest part hits 195–203°F and the meat pulls from the bone with almost no resistance. Use a thermometer. The bend test works as a backup: flex the rack and it should nearly break in half.
- Rest before you cut — Ten minutes off the heat lets the juices redistribute. Cut immediately and they run onto the board instead of staying in the meat.
- Cut between the bones right before serving and arrange on a board or platter. Keep extra sauce on the side for dipping — after four rounds of glazing, it's optional.
- The classic sides are classic for a reason. Coleslaw cuts through the richness of the meat. Baked beans pick up the smoky-sweet notes from the rub. Cornbread soaks up the drippings. Mac and cheese holds the plate together without competing.
- If you're running a full spread, pair these alongside pulled pork or smoked brisket and let people build their own plates. Cold beer handles the sweetness in the glaze without fighting it. Sweet tea or lemonade if you're keeping it non-alcoholic.
- Store leftover ribs in an airtight container in the refrigerator for up to 5 days.
- To reheat, wrap in foil and place in a 250°F oven for 20–30 minutes. The foil keeps moisture in. Don't rush it with high heat — it dries them out fast.
- For longer storage, wrap tightly in foil then plastic wrap and freeze for up to 3 months. Thaw overnight in the refrigerator before reheating.