Ingredients
Equipment
Method
- Combine the cold water, kosher salt, granulated sugar, and Kinder's All Purpose Seasoning in a large pot over high heat.
- Warm the mixture, stirring occasionally, until the sugar and salt fully dissolve. The water should reach approximately 160 degrees F — it does not need to boil.
- Remove from heat and transfer the brine to a large container or heatproof bowl.
- Add the 16 oz of ice water to the warm brine and stir to combine. This rapidly cools the liquid.
- Refrigerate the brine for up to 3 hours, or until it is fully chilled to refrigerator temperature. Never brine with warm liquid, as this promotes bacterial growth.
- Place each rack of baby back ribs into a large zip-lock bag. Fold the racks if needed, or cut each rack in half to fit more easily.
- Pour the chilled brine evenly over the ribs, dividing it between the bags if using two. Seal each bag tightly, pressing out as much air as possible.
- Refrigerate overnight for 10 to 12 hours.
- When ready to cook, remove the ribs from the brine and discard the liquid.
- Pat the ribs dry with paper towels and place them on a paper towel-lined dish. Return to the refrigerator until you are ready to season and cook them.
Notes
- Chill the brine completely — Adding raw pork to warm liquid pushes the meat into the bacterial danger zone (40°F to 140°F). The ice water step and fridge time aren't optional.
- 10 to 12 hours is the window — Go past 14 hours and the texture starts working against you: the meat pulls mushy and the salt load compounds. Set a timer.
- No 2-gallon bags? — Use a large airtight container with a plate weighted on top to keep the ribs fully submerged. Any air gap means uneven seasoning.
- Dry the ribs before you rub — Wet meat won't form a bark or crust. After brining, pat every surface dry and return the racks to the fridge uncovered for at least 30 minutes before applying your rub.
- Pull back on salt in the rub — The brine already seasoned the meat internally. Treat any additional rub as flavor, not salt delivery, and taste your blend before you apply it.
- The brine is the setup, not the finish line. After 10 to 12 hours in the brine and a thorough pat-dry, season the ribs with your rub of choice and cook them however you want — smoker, grill, oven, or slow cooker. Each method produces something different; all of them benefit from what the brine already did.
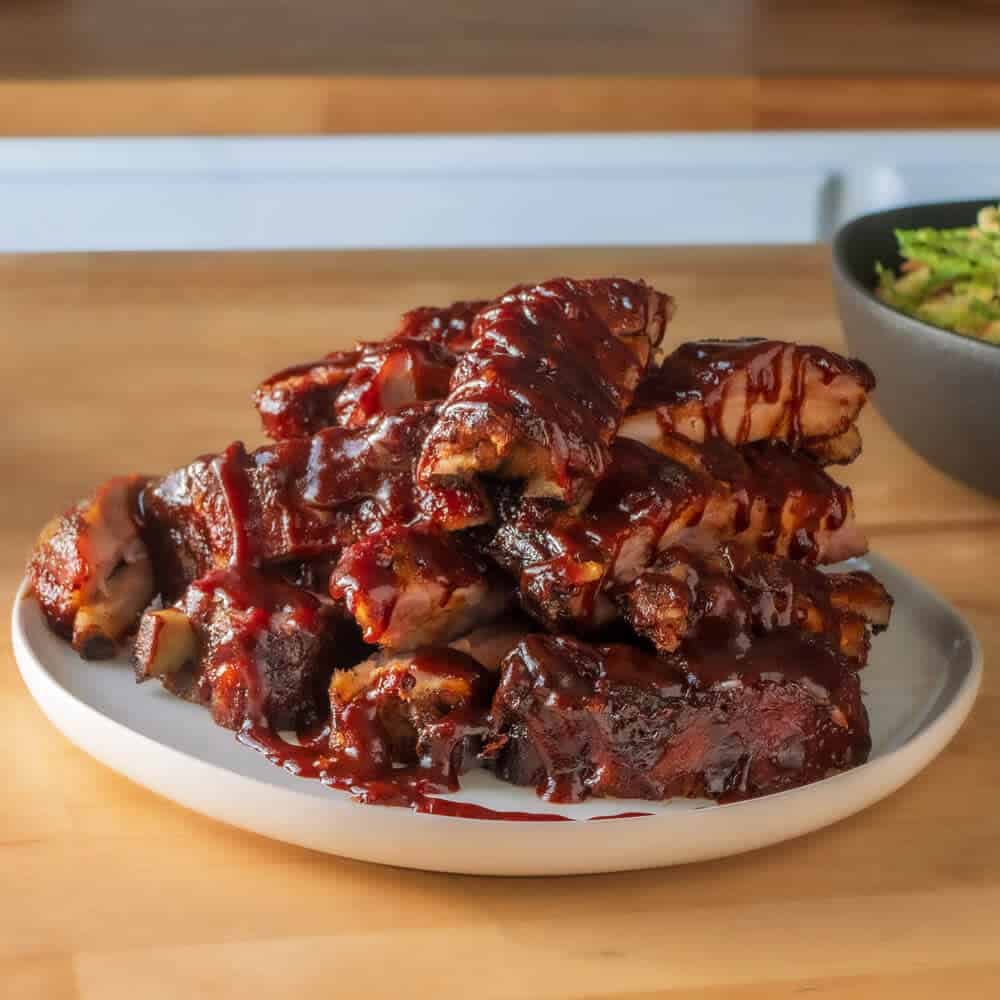
- Kinder's original BBQ sauce or honey BBQ glaze works well brushed on in the last 15 to 20 minutes of cooking, or served as a dipping sauce on the side. The brined ribs can take a heavier glaze without tasting overworked.
- For sides: coleslaw with some crunch, baked beans, cornbread, or a simple potato salad. Cold beer or sweet iced tea if you're doing it right. This belongs at a backyard cookout or a game day spread where people are paying attention.
- Brined, uncooked ribs can sit in the refrigerator — out of the brine, patted dry — for up to 24 hours before cooking. Discard the brine once the ribs are out; it's done its job and shouldn't be reused.
- Cooked ribs keep in an airtight container in the refrigerator for up to 4 days. For longer storage, freeze for up to 3 months — wrap tightly in foil before bagging to prevent freezer burn.
- To reheat: wrap the cooked ribs tightly in foil and put them in a 300°F oven for 20 to 25 minutes. They come back well without drying out.